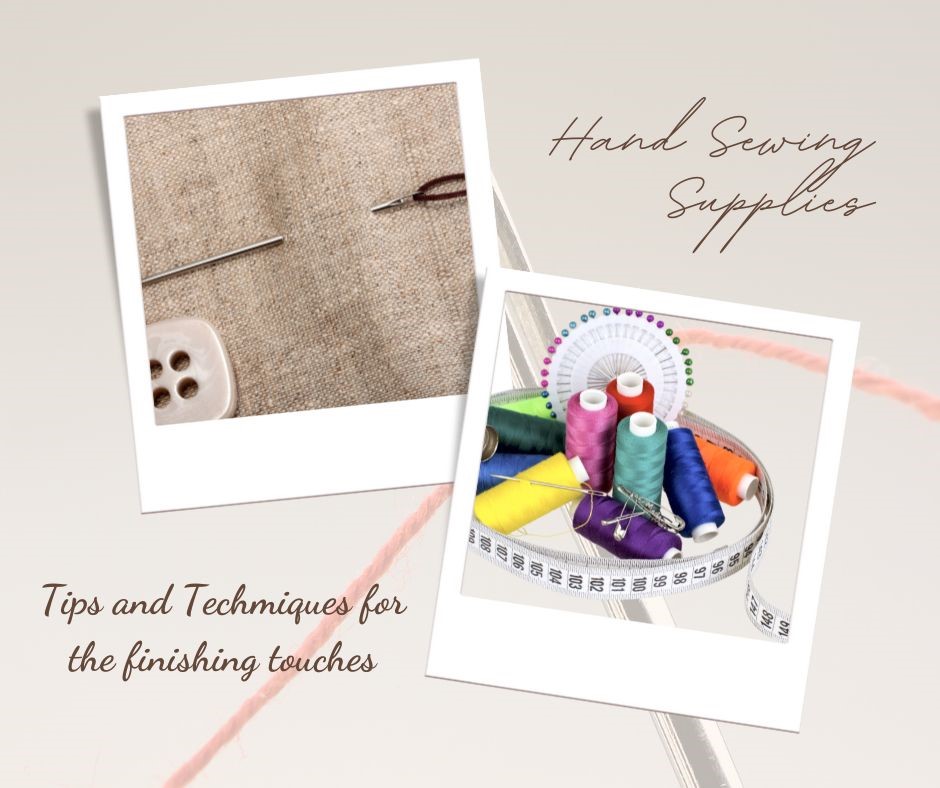
Buttons, Snaps and Hook/Eyes
The finishing touches to any garment are the buttons, snaps, and hook & eyes. There are many times you will buy a garment and need to mend these elements. I will help you to know the hand sewing process to attach these to your garment.
Buttons
There are different types of buttons. The most common are the flat two-hole buttons and the flat four-hole buttons. The flat buttons are used on shirts, dresses, and most light garments.
Shank buttons have the decorative face and a loop on the back of the button. This type is used primarily for coats.
Both types are hand sewn on, using the same method.
- Thread–pick your color, as close to the fabric as possible. If you can’t find a match, then error a little darker. Cut a piece at least 36 inches long.
- Hand Needle–I prefer embroidery needles because they have a larger eye. This makes it easier to thread the needle. You will pull the thread through the eye and match the ends. Tie a knot at the end.
- Button–hold the button on the top of the fabric. You will poke the needle from the wrong side through the button, Up from the botton and down through the hole across that hole. I make an “X” pattern. Make sure to sew each half of the “X” at least (3) passes.
- Knot–Tie off your thread at the back.
Snaps
Snaps have two halves, the female side and the male side. There are (4) small holes on each half.
- Lap over—the garment laps over, like the a button placket on a shirt.
- Female part– this half of the snap set is on the right side of the garment and on the under placket of your garment.
- Male part–this half of the snap set is on the wrong side of the garment on on the top placket of your garment.
You will need to thread your needle in the same fashion and sew through the holes to affix each half to your garment. Tie off your thread on the wrong side and garment.
When you sew the male piece to your garment, make sure NOT to sew your stitches through to the right side of the fabric. Be careful!
Hook & Eyes
There are two parts to a hook & eye set. There are (2) holes on each end. The “eye” which is the open part of your set is usually stitched to the right side of your garment and the “hook” will be stitched to the left side of your garment.
The process is the same for the thread and needle. Hold your hook or eye in the position and affix by stitching through the holes. Both halves will be sewn to the wrong side of your garment.
It would be a good idea to look at a garment that has a hook & eye on it. This will help you to see how it should look on the garment you are working on adding a hook & eye.
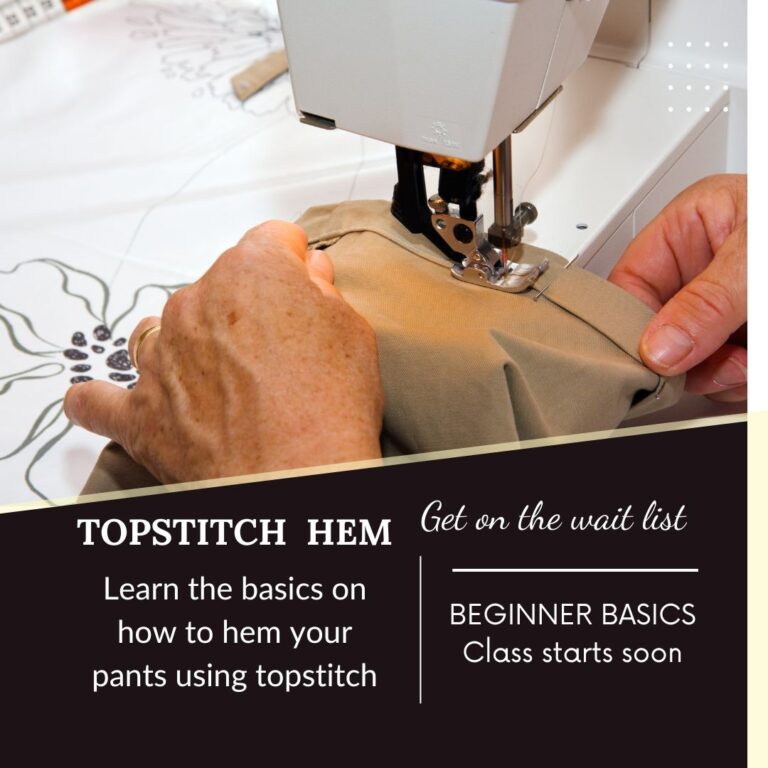
Classes
If you need help in learning any of these techniques, I do offer Beginner Basics classes. Currently, there is a waiting list . I would love to have you join 🙂
Happy Sewing!